

How To Tighten Your Plot & Fix Pacing Issues with Scene Cards
How To Tighten Your Plot & Fix Pacing Issues with Scene Cards
My method from start to finish

Hi friends, today I’m sharing my favorite method for big picture revising: scene cards! I know it sound simple—in fact, so simple, that I resisted doing them for a long time—but scene cards are how I cut scenes that aren’t necessary, tighten my story, fix pacing problems, and make my books MUCH better.
The first time I did scene cards was when my agent came back to me with the feedback: you need to rewrite the first half of this book. Even though I wanted to yell, “You’re wrong! My book is perfect!”… she was absolutely correct (as she often is). But I had no idea where to start.
I decided being able to see my whole book at a glance might be helpful. So I made scene cards and stuck them to the wall (cue my husband looking on in horror as I wallpapered our bedroom with them 😱).
It was like seeing my book in an entirely different light. Instead of a bunch of 1-2K word chapters, I could see the bigger picture, the broad strokes. I cut 5 chapters, literally lifted them out of the story, and nothing changed. This was a big step toward fixing the first half of my book.
Seeing the cards on the wall allowed me to notice where scenes accomplished nothing, where the tension dipped, where a character disappeared from the story, and where another plot twist might fit nicely.
Then about a month ago, as I was revising my latest book to send to my agent, I realized I felt bored as I read a particular section of my book. But I couldn’t tell—was it that the pace had lagged, or that I’d read the book too many times?
Friends, it was time to bust out the scene cards! Lo and behold, there were three chapters that could go. It did require a little finagling to tie everything together, but it fixed the problem.
So without further ado, here is my scene card method. Some authors make them as they write the book, or even before they write the book, but that feels too much like outlining to me. Also, please note these are different than the Story Genius method of doing scene cards (though I do love that method, too).
Here are the tools you need:
Get yourself a big stack of notecards. I personally prefer the bigger ones (3x5) that are blank on one side, but you can use whatever works for you. I tried using sticky notes, but they never stuck properly to my wall.
To note: Scrivener users have reported using the card tool in that particular app, but I like to have the physical cards in front of me.
Something to write with. I like using thick sharpies or bold pens so I can step back and look at my wall of cards like it’s a painting and still read what I’ve written down. I also like having 2 or 3 colors. If I have dual POVs, I’ll do one character’s scene in black and the other’s in red. Same with multiple timelines.
A copy of your manuscript. I prefer a printed copy that I can flip through quickly, but a computer copy is fine, too.
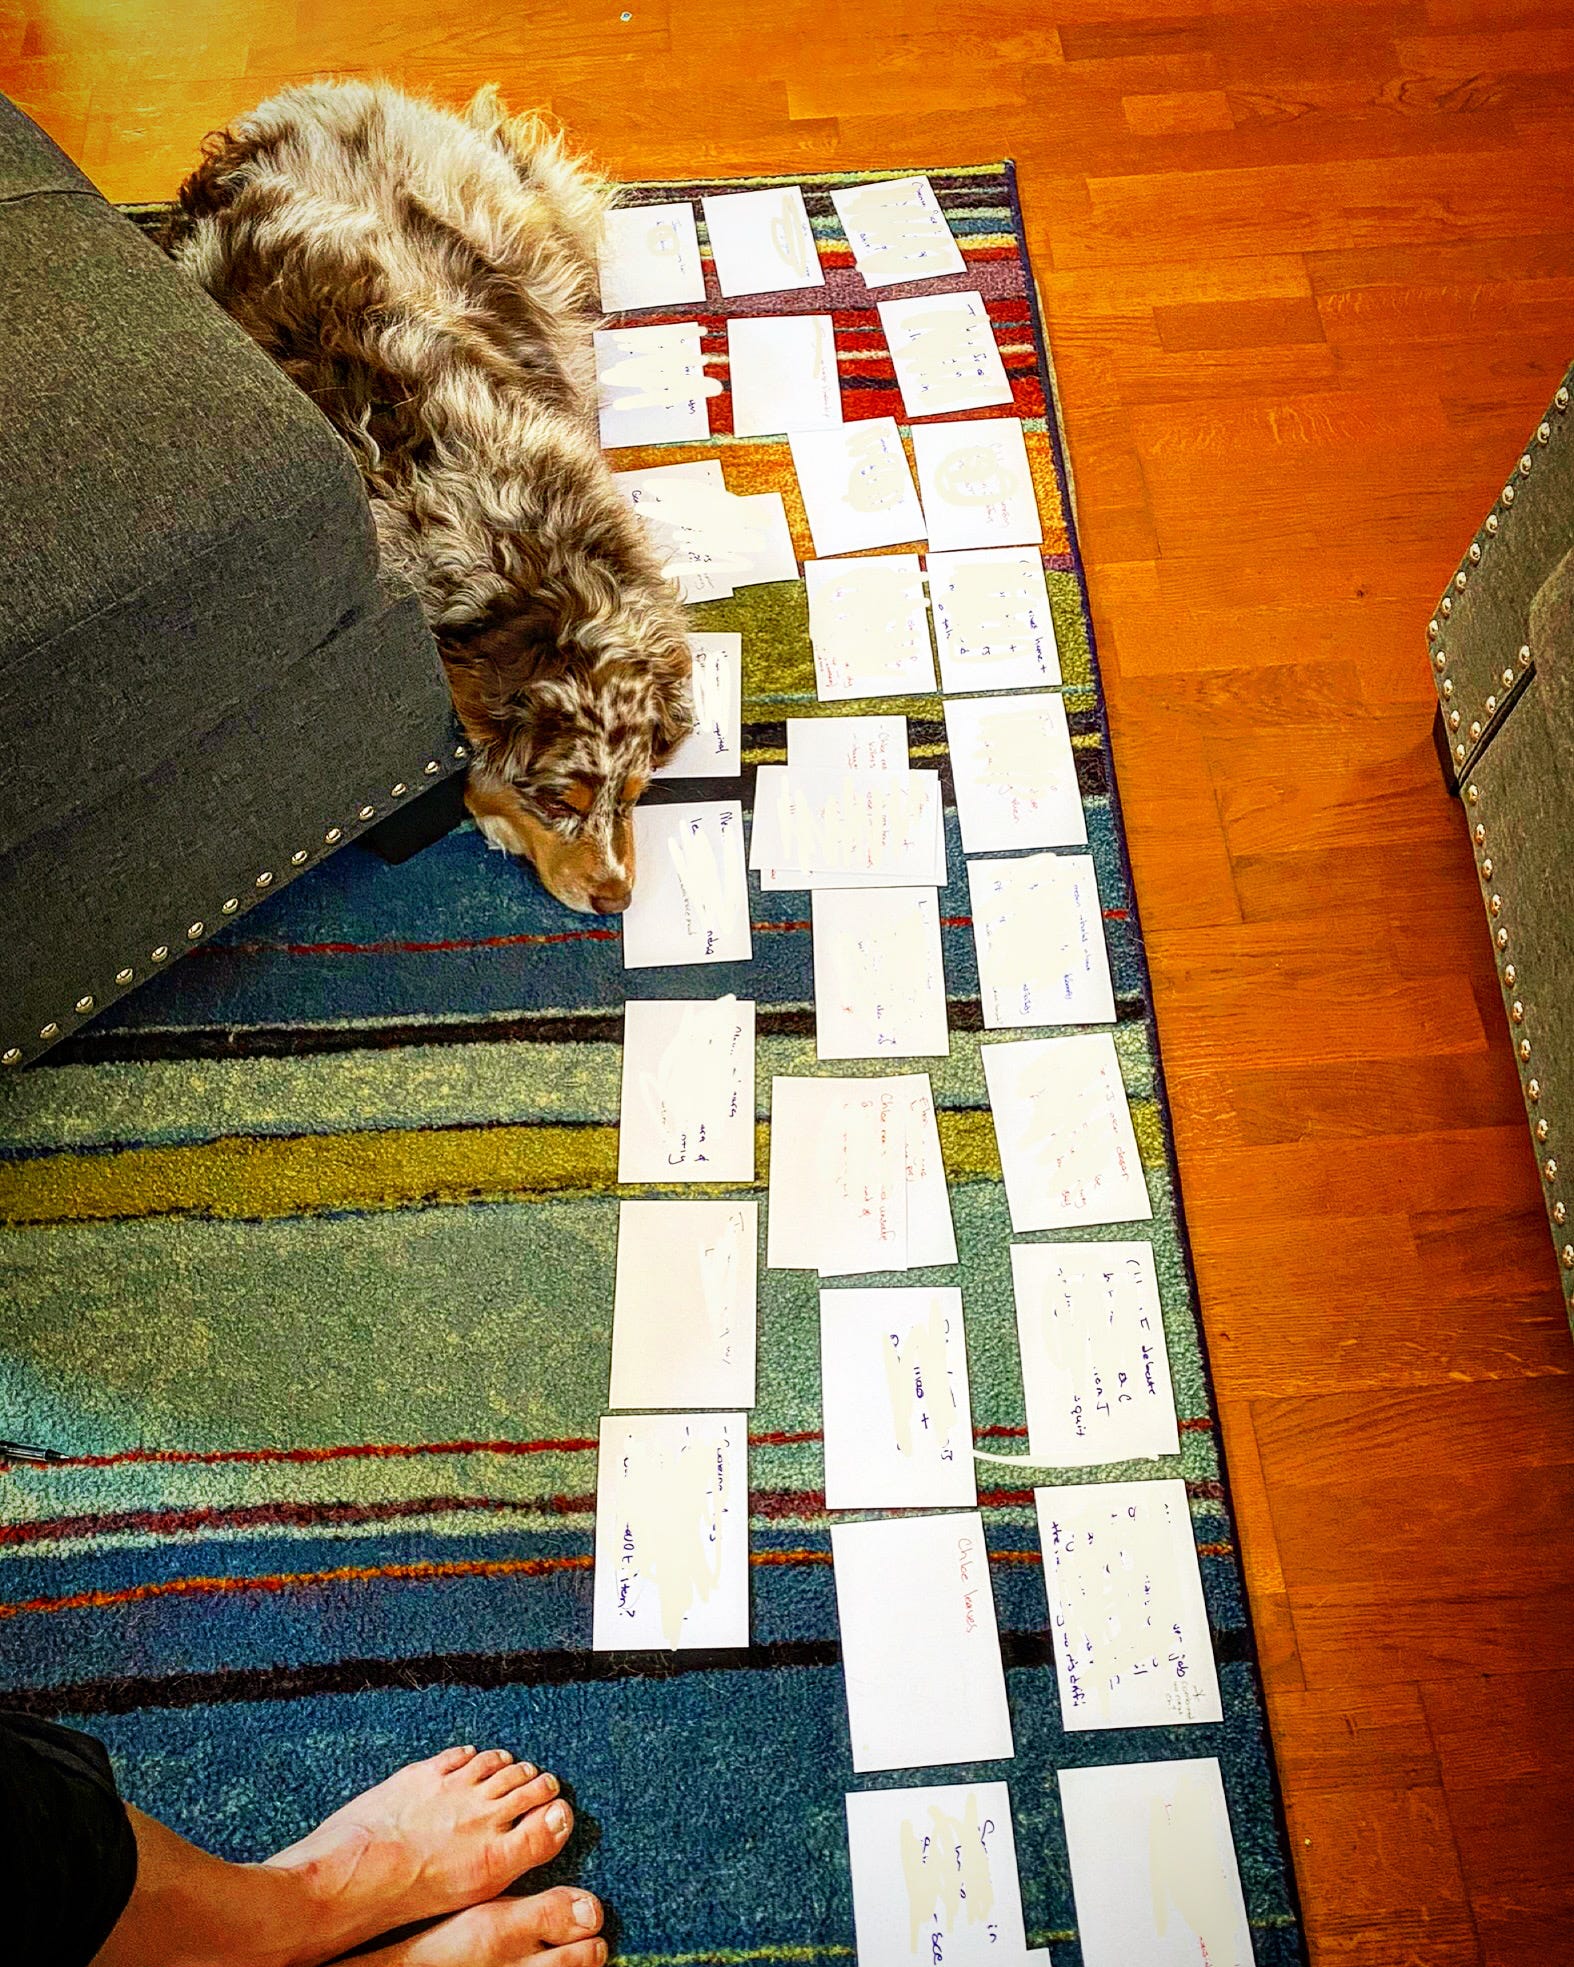
Tape! Because how else will you tape these suckers to the wall? Alternatively, you can place them on the floor of your work space. But those of us with cats, dogs, and small children know how well that works (see below).
Sticky notes are optional, but I prefer to have the small ones to stick onto scene cards when I have thoughts vs. writing all over the scene card itself (because sometimes I change my mind, and in those cases, I can yank the sticky note off and dispose of it). I also use these when I discuss revisions with my agent, furiously scribbling notes then sticking it to the scene cards—how I want to change that particular section of the book.
Now that you have all the necessary tools, this is what you do:
For each scene, write a one to two sentence summary of what happens. Each scene gets its own card. Do this for your entire book, and try not to rush! It takes me at least 2 days to do this, so yes, it’s an investment of time, but trust me, it’s worth it.
If nothing notable happens in a scene, and you feel like there’s nothing to write—well, that might be a sign that scene doesn’t need to be there. For now, write it down, anyway—you’ll remove it later if you still think it doesn’t belong. Feel free to tag it with an asterisk in the corner to remind yourself.
Hint: It doesn’t have to be something physical happening in the scene. Maybe a character changes their mind or has some big realization. These things count and belong on the card.
Optional: some people like to make a list of character in each scene, the setting, day of week, etc. I find these details to be distracting, as my goal is effectively a developmental edit. But you do you.
Here’s an example from the prologue and first chapter of my book Never Trust the Husband. Note I used two different colors of ink since it’s different POVs and timelines. This helps me easily trace one vs. the other when looking at the book as a whole.
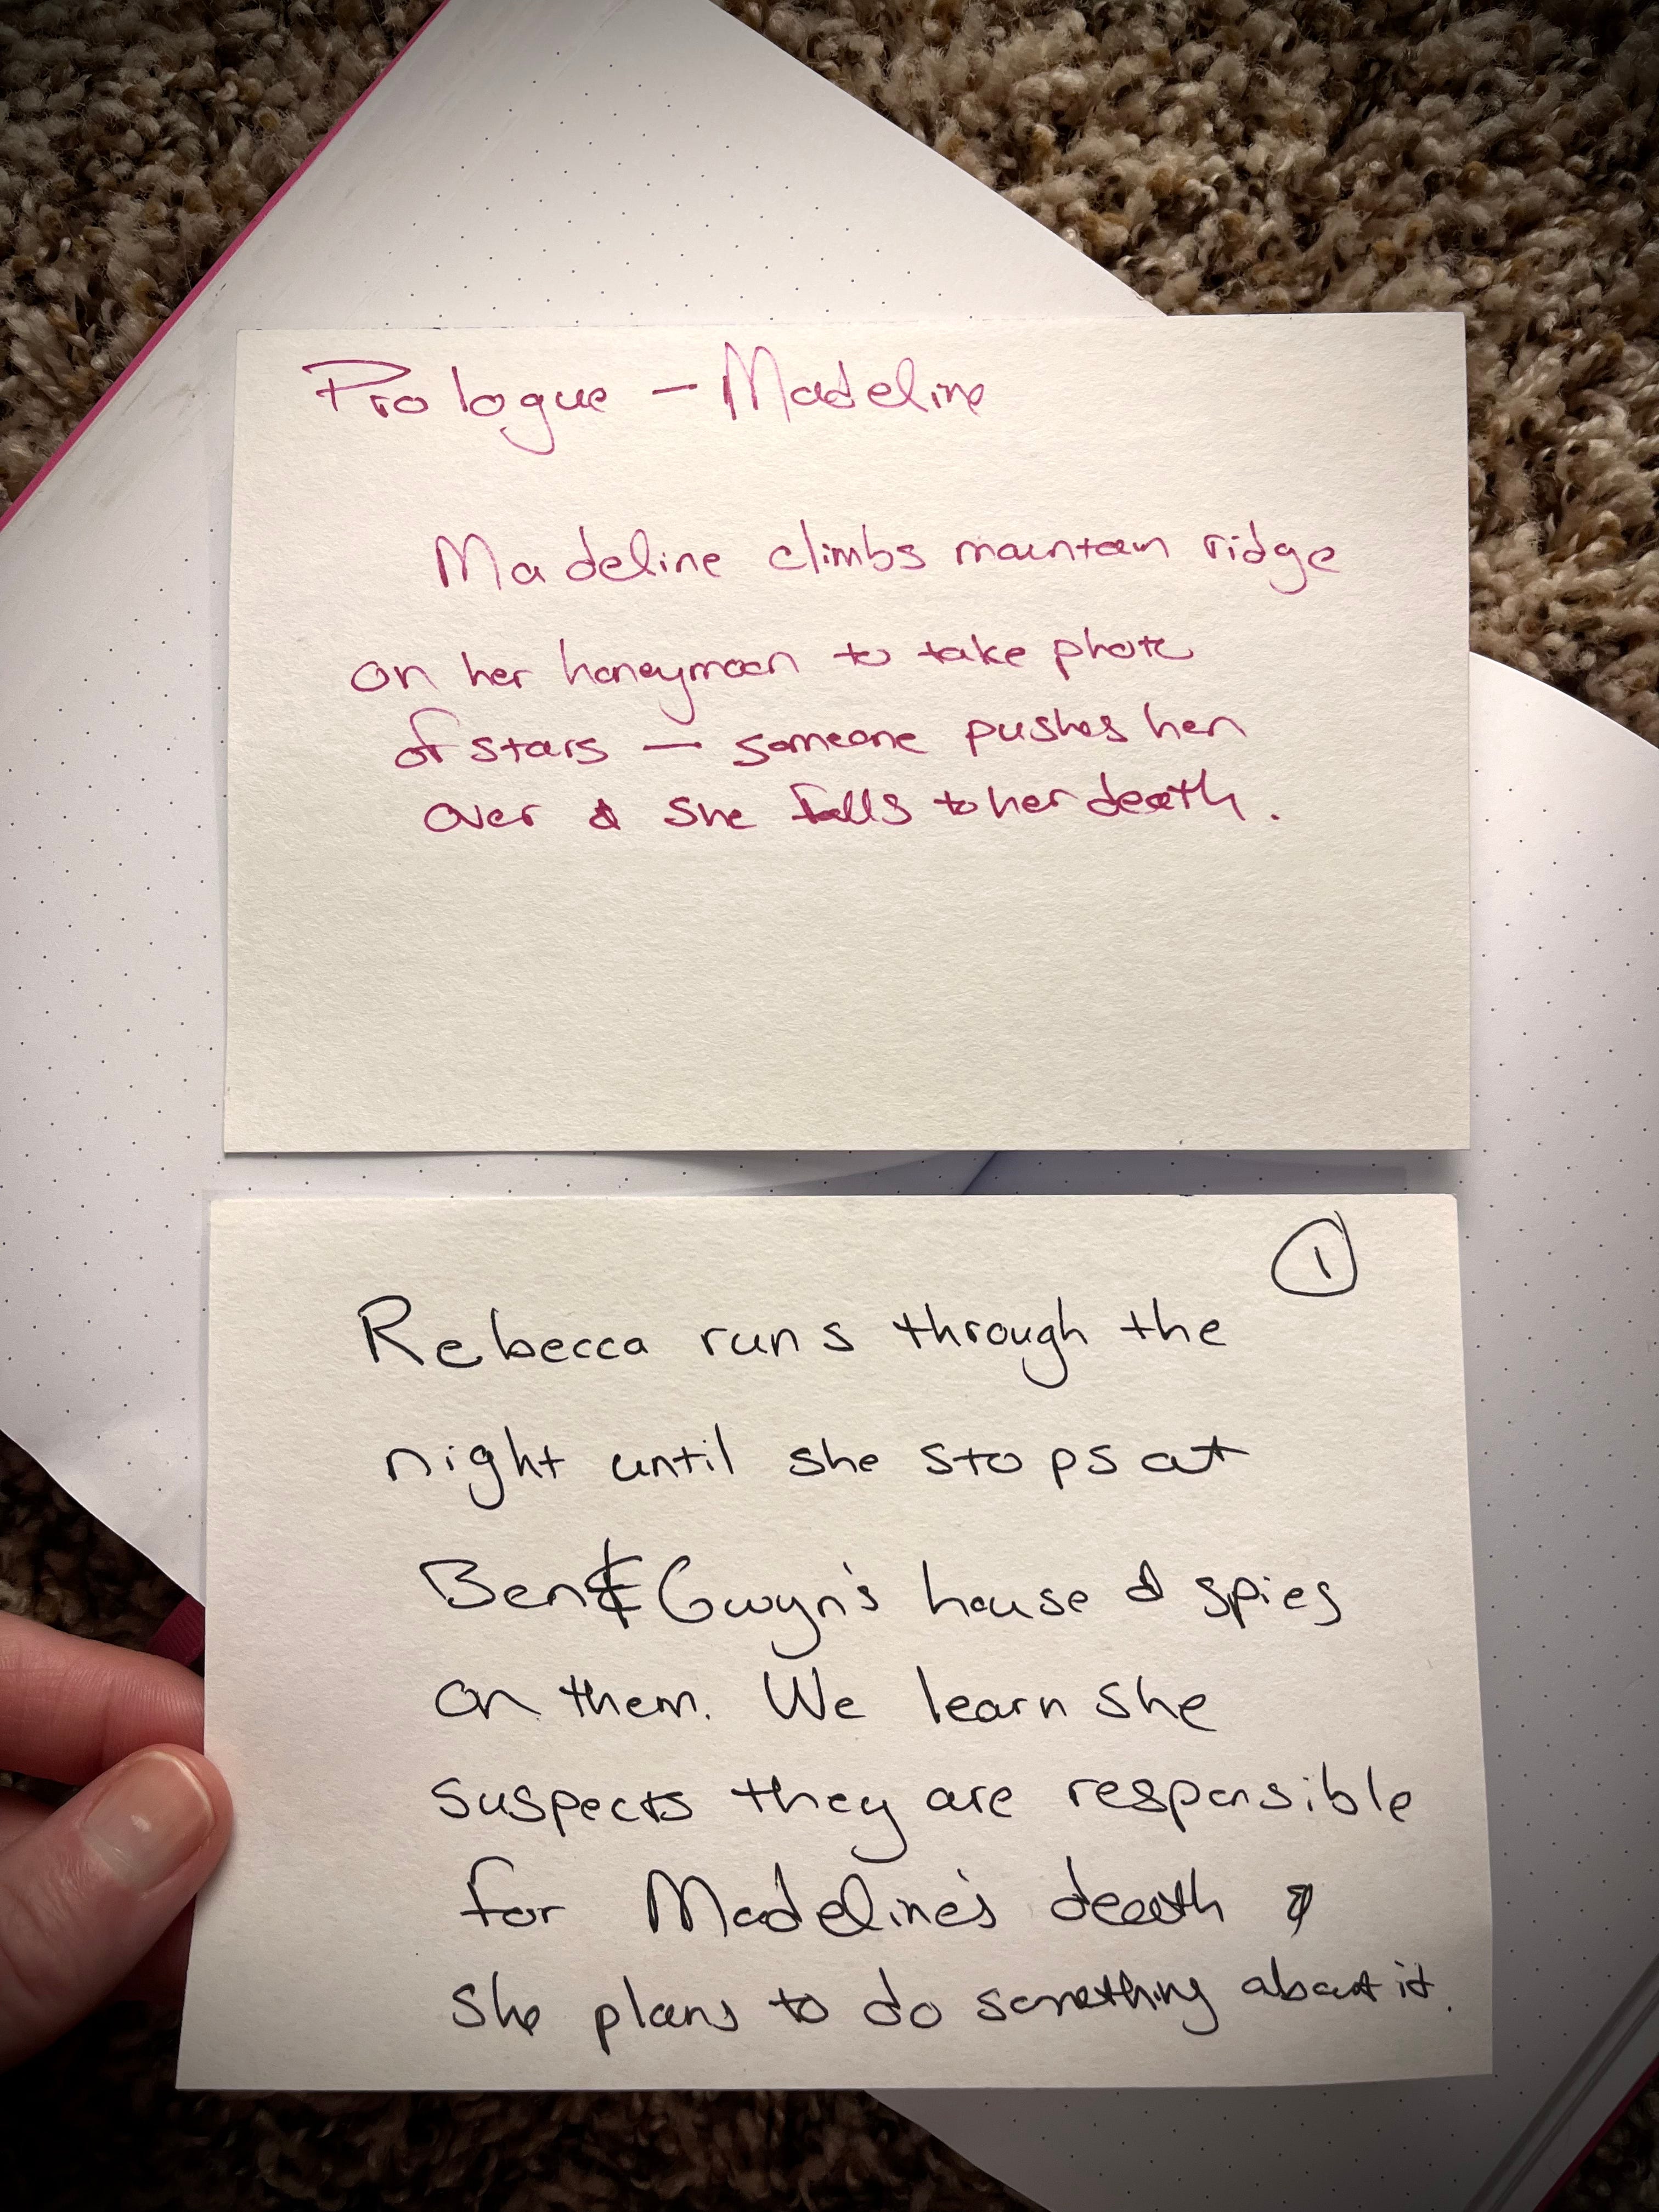
I give a quick run-down of the main character(s) and what happens and how that sets the reader up for the next chapter.
Pro tip: Be sure to number your scene cards! Inevitably, a strong breeze or the whisk of a dog’s tail will send them flying, and even if your chapter numbers will change, it helps!
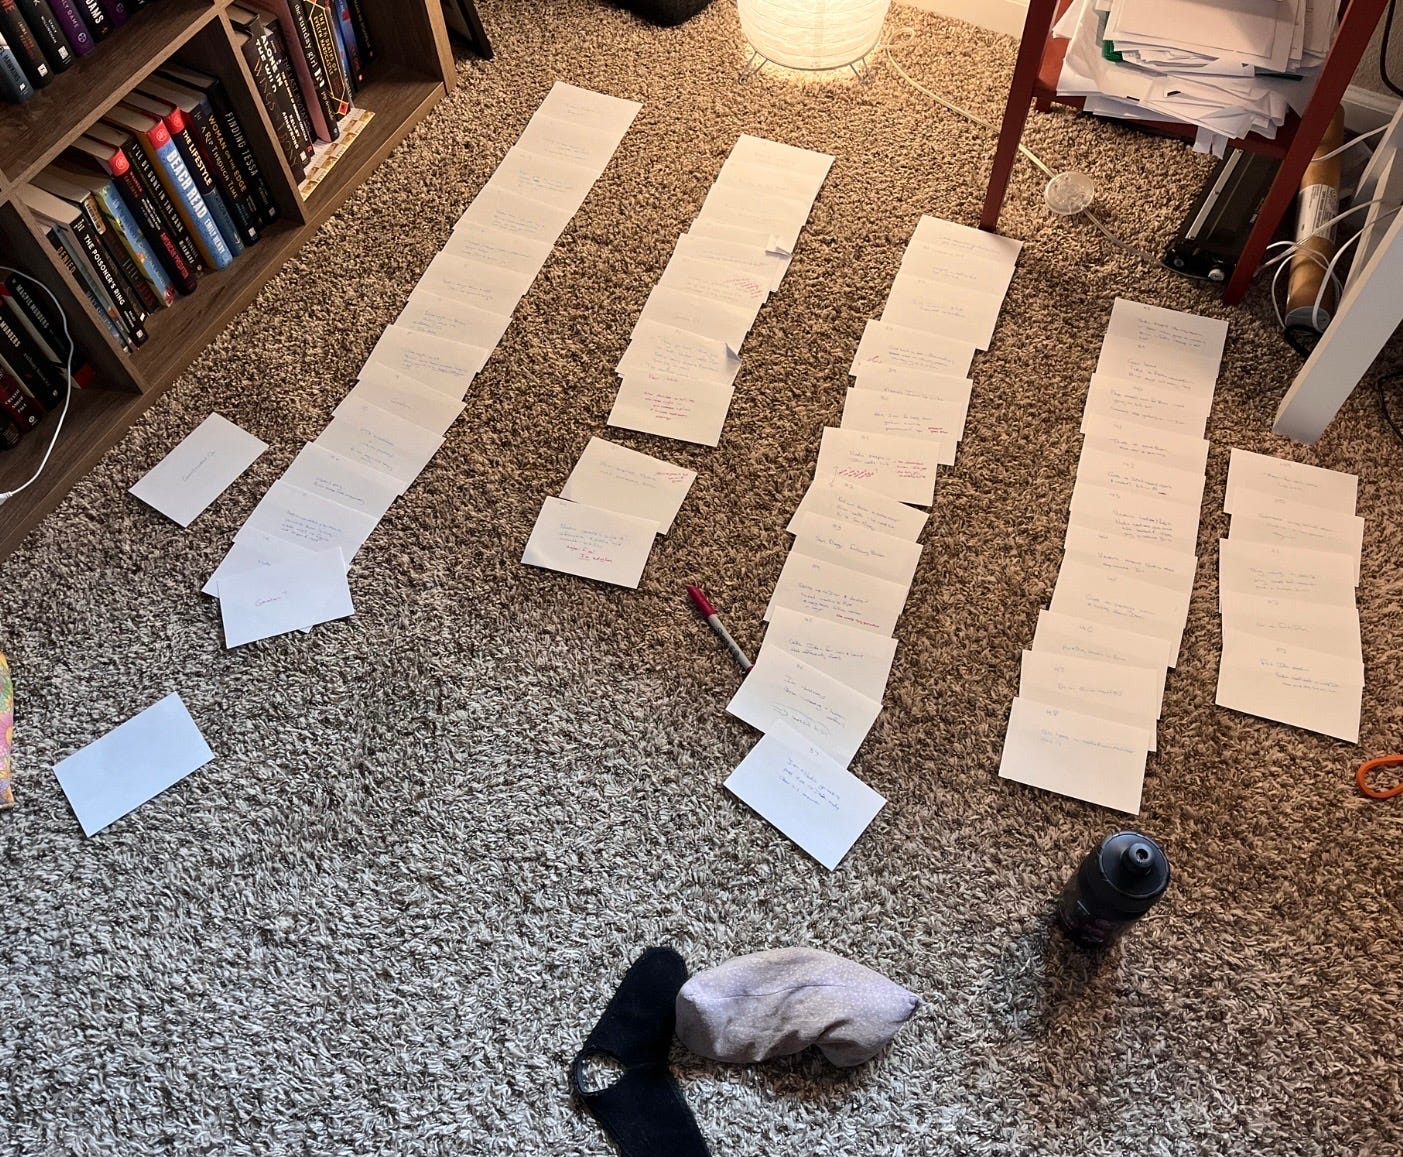
Once you have all your cards written up, lay them out in order. In this photo, I have them on the floor because I knew I needed to rearrange some scenes and wanted to be able to easily move them.
Study your cards. Talk through your plot with yourself—or your cat—or call a writing buddy who’s very patient. Notice if something feels or sounds off. And don't just think this internally—act as though you are telling someone about it (which is why I suggest calling a friend). You’ll realize when you’re stumbling—when something doesn’t make sense or you got lost down a rabbit hole that doesn’t pertain to the book as a whole.
Here are some of the questions I ask myself:
Does the scene make sense and does it need to happen?
Does one scene clearly lead to another?
Are there scenes or chapters where nothing happens?
Are there characters who disappear halfway through the book?
Can any scenes (esp short ones) be combined without losing their effectiveness?
Would rearranging certain cards (and therefore, chapters) help the book make more sense?
Can you follow your character’s arc, and does it change by the end in a way that makes sense based on the events?
This is also a way to rearrange chapters if you have dual POV or multiple timelines. At a quick glance, you can see how the new order works for the story-line.
Inevitably, I notice scene cards where my eyes glazed over when I re-read my book. And often, these are the cards I realize can be lifted right out with minimal effects to the story as a whole. Sometimes, I spot a subplot I started but never finished (and maybe doesn’t belong in the book). With my most recent project, I realized a main character disappeared from about the 20% point to the 70% point. That’s a problem!
I take sticky notes and write down any thoughts, then put it on the notecard for that scene. If I think a scene can be deleted, I’ll either pull it out of the pile or X it out and leave it in the pile, so I can look at the scene again when I do the next round of revisions.
Back to my manuscript to incorporate the change I discovered need to be made based off the scene cards! This time, on my computer. It’s time to get to work—deleting, rearranging, condensing. With my last revision using scene cards, I completely removed 3 scenes, condensed four chapters into two, and cut a total of about 5,000 words. I also used the scene cards to figure out where to put scenes from a different timeline that did not directly impact the present.
A few more tips:
You can use different colored scene cards for multiple POVs and timelines. This can help you stay organized and be able to see it at a glance.
I love doing scene cards to see where my plot twists land—and to be able to move them around to see how the story might look if I did things in a different order. Feel free to play!
I received a question about using scene cards with Scrivener. You could conceivably carry these over into Scrivener—either typing them up or dedicating a scene file for each card. I do not personally do this, but if it helps you, then by all means. Scrivener definitely lends itself to being used this way. And as stated above, has its own scene card option—I just need to be able to hold the cards in my hand. For me, having them physically in front of me works better than seeing them on a screen.
So this is how I do it—how I take my rough draft and make sure each scene is pulling its weight. The book won’t be perfect at this point—no, it will still need critique partners, my agent, my editor. But it gets everything a little farther along, and I usually feel more confident about the book after going through this process.
Let me know down below if you use scene cards, or if you have any questions about my process! Thanks for reading!
Jessica Payne is a psychological thriller author who has probably spent a little too much time studying the dark intr icacies of the human mind. An expert coffee drinker, she loves to go on long runs to manage the resulting caffeine jolt. Jessica lives in the Pacific Northwest with her husband, daughter, and their many (many!) cats and dogs. Her novels include Make Me Disappear, The Lucky One, The Good Doctor, and Never Trust the Husband. You can learn more at jessicapayne.net
What a great post, Jessica. Thanks so much!
Edited to saySuch a great post! I used to have a set of index cards for each book (it's how I plot, can't imagine not having cards in some form). Now I do use Scrivener - it's really easy to switch from the Document view to the Corkboard view and all your scenes are there as virtual cards, you don't have to create a separate set of cards. I start plotting in the Corkboard view then switch to Document when I'm ready to start writing and go back to Corkboard when I want to look at the structure. I constantly move things around, as I write out of order. You can also use labels to color code plot threads or characters or whatever you want. I can definitely understand wanting to have tangible cards to look at but for those wanting a virtual option it's very doable (for me the cards were always getting knocked out of order when my cats walked on them and that was before I had a kid :-).